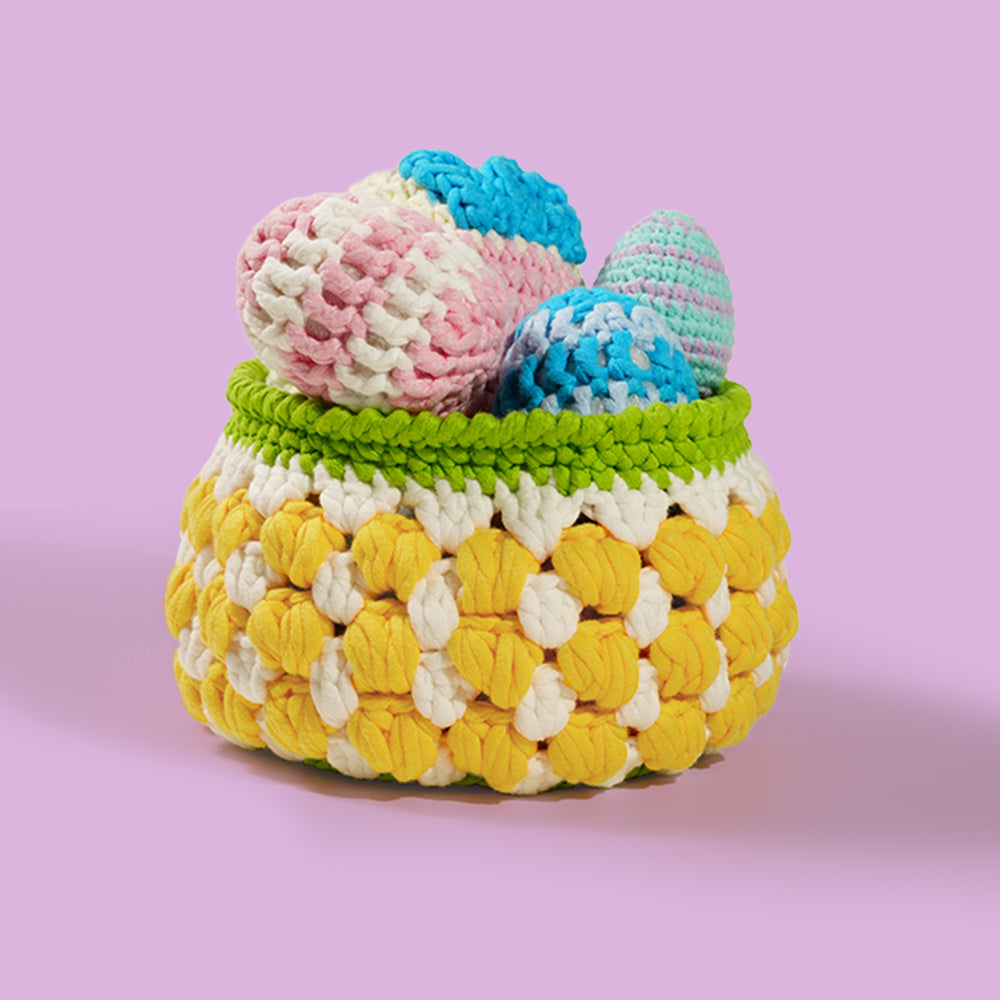
Crochet Project: Tulip Flower Box Detailed Tutorial Part 2
Opening
Welcome back to Part 2! Now that your khaki base and blush-pink puff-stitch tulips are complete, we’re turning to the basket’s middle portion to add airy contrast and organic movement. You’ll crochet a band of white stitches—serving as a visual pause—before introducing the vibrant green yarn to create stylized stem motifs that weave up through the pattern.
The white transition not only brightens the overall look but also provides a clear backdrop so the green stems really pop—mimicking how tulip stalks stand out against a vaserim . We’ll cover general tips for even striping, when to carry yarn versus when to break for tidier color changes, and how to maintain stitch consistency across color shifts . For the stems, you can experiment with simple single-crochet lines or small cluster stitches to suggest leaf buds—all worked seamlessly into the basket wall .
Gather your worsted-weight white and green yarns and return to your original hook size to ensure the midsection fabric matches the base tension . You might find it helpful to wrap yarn in small bobbins or keep contrasting colors in separate bowls to avoid tangles. A tapestry needle is essential here for quick weaving in of ends, especially if you break color frequently .
Let’s get into the details of today’s tutorial.
Tutorial of Part 2
Round 8:
l Change color to white
l Chain three as the turing chain
l 1 double crochet, 1 doulbe crochet decrease as a group, repeat 12 times
l Work a slip stitch at the end of the round


Tips:
l You can cut the red yarn with scissors since we will no longer be using the that yarn
l You can incert the hook into the gap on the right side of the turning chain of previous round
l double crochet decrease : Work a incomplete doulb crochet, keep two loops on the hook, then yarn over and inccert the hook into next stitch,yarn over pull through. You now have four loops on the hook, yarn over and pull through first two loops, yarn over and pull through the remaing loops to finish a double crochet decrease.
l This round will consist of 44 stitches increase total. You can count the number and check
Round 9:
l Chain three as the turing chain
l 44 double crochet
l Change Color to green at the last double crochet
l Work a slip stitch at the end of the round


Tips:
l Change color : When we are working the last doulbe crochet, don't complete the whole process, after pull the yarn through first two loops on the hook, we need to put the white yarn down and take the green yarn with our left hand.Hold the green yarn behind of the work,yarn over, then pull through the remaining two loops on the hook to finish the color change.
l When working the slip stitch at this round, incert the hook into the gap between the turning chain and the double crochet, rather than the stitch itself.
l This round will consist of 44 stitches total. You can count the number and check
Round 10:
l Cut the white yarn with scissors
l Chain three as the turing chain
l Work 1 double crochet, chain 1, 1 doulbe crochet, chain 1 in the same stitch, then skip 2 stitches as a crochet group, repeat 15 times
l Change Color to green at the last double crochet
l Work a slip stitch at the end of the round


 Tips:
Tips:
l After we finished a group of "1Dc,1chain, 1Dc, 1chain" , the work looks like a big "V"
l When working the slip stitch at this round, incert the hook into the gap between the turning chain and the double crochet, rather than the stitch itself.
l There should be total 15 pairs of this big "V" for this round. You can count the number and check
Transition to Part 3
Your basket is really coming alive with that crisp white band and lush green stems! In the final installment, we’ll switch to sunny-yellow yarn to form the top tulip motifs in puff stitch and then crochet the matching lid for a polished finish . Don’t miss the grand assembly and styling tips in Part 3!
Video tutorial:https://youtu.be/EXmUk4MxlqM?si=8v1VfHETUO1xJ4cL
Free pattern:https://thekynova.com/blogs/crochet-free-patterns/free-pattern-tulip-box
