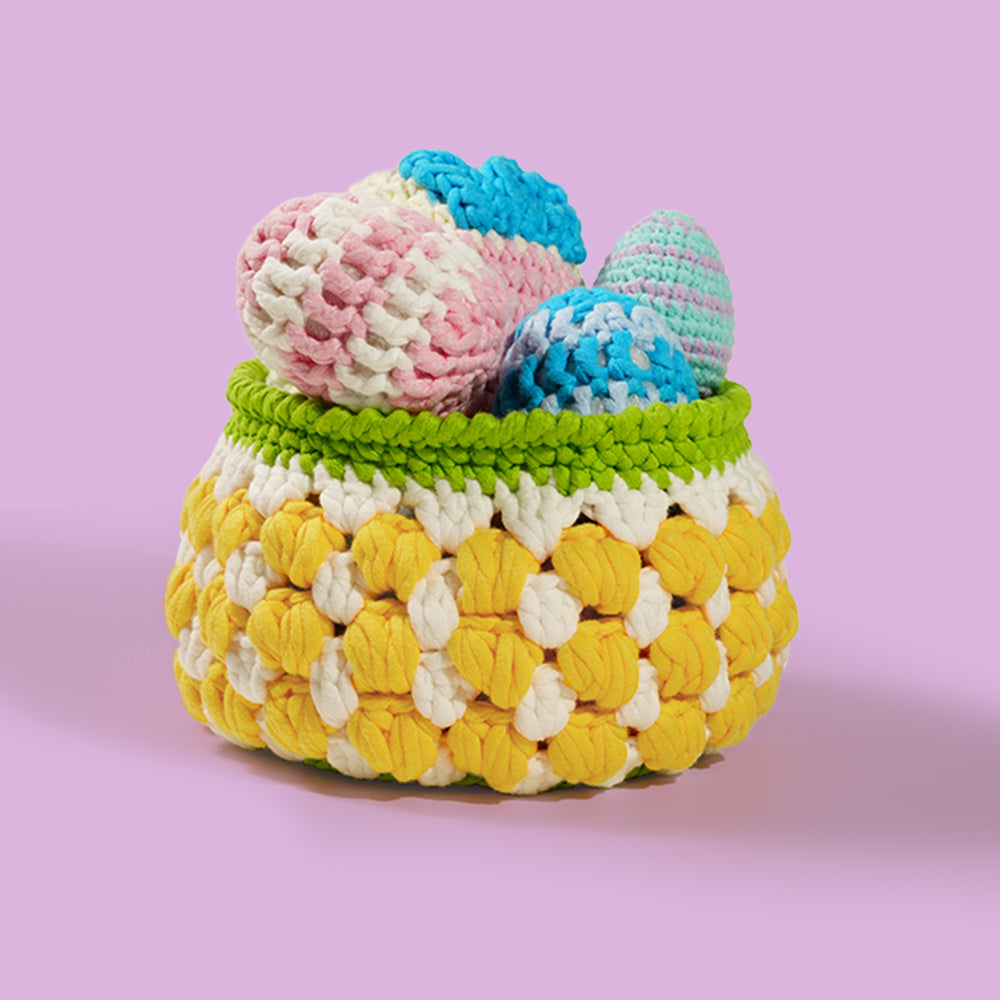
Crochet Project: Tulip Flower Box Detailed Tutorial Part 3
Opening
Welcome to Part 3, the grand finale of our crochet tulip basket saga! Here, you’ll complete the basket body by working puff-stitch tulip motifs in bright yellow around the uppermost rounds, then switch to coordinating khaki or white to craft the lid that caps off your creation. This yellow band echoes the peach-pink tulips introduced earlier, creating a cohesive palette while framing the basket’s opening with cheerful blooms.
We’ll discuss broad strategies for integrating these top motifs—such as aligning pattern repeats for symmetry, adjusting puff-stitch height for a snug lid fit, and choosing between continuous round colorwork or breaking yarn for cleaner pulls. When it’s time to turn your work for the lid, I’ll share tips on maintaining edge definition, preventing gaps, and adding optional decorative borders or handles . As always, the focus remains on creative flexibility: you decide how tall your lid is, whether to add a contrasting trim, and how dense or lacy to make the rim .
Prepare your sunny-yellow yarn, switch back to the smaller hook for crisp puff motifs, and have stitch markers handy to map out evenly spaced blooms . Once the motifs are in place, swap to khaki or white yarn, pick up edge loops, and crochet your lid in rounds—ending with a flourish that can be as simple as a slip-stitch border or as ornate as a tiny pom-pom top .
Let’s get into the details of today’s tutorial.
Tutorial of Part 3
Round 11:
● Cut the yellow yarn with scissors
● Change color to yellow
● Chain three as the turing chain
● Work 1 Popcorn Stitch, chain 2 as a group, repeat 15 times
● Cut the extra yarn tail
● Work a slip stitch at the end of the round


Tips:
● Popcorn Stitch: Work three doulbe crochet in the same stitch first, then find the first double crochet stitch in the cluster, insert the hook into the stitch and the dropped loop before, and pull the yarn through to complete a popcorn stitch.
● You could cut the extra yarn tail and cut the yarn tail on the buttom
● You may also hide the yarn tail within the sitches
● When working the slip stitch at this round, incert the hook into the gap between the turning chain and the double crochet, rather than the stitch itself.
● This round will consist of 16 popcorn stitches total. You can count the number and check
Top Part
Round 1:
Make a magic Ring
● Chain three as the turing chain
● Yarn over and work 12 single crochets(sc)
● Pull on the short yarn tail and tighten the loop at the beginning of the ring
● Work a slip stitch at the end of the round


 Tips:
Tips:
● Pay attention that single crochet is different from doulbe crochet, you don't need to yarn over before crocheting
● This round will consist of 12 stitches total. You can count the number and check
Round 2:
● Chain three as the turing chain
● Work 12 double crochets(dc)
● Pull on the short yarn tail and tighten the loop at the beginning of the ring
● Work a slip stitch at the end of the round


Round 3:
● Chain three as the turing chain
● Work 1 Double Crochet(dc),1 Double Crochet Inc(dc inc), 1 Doulbe Crochet(dc) as group, repeat 4 times
● Work a slip stitch at the end of the round
● We can cut the yarn with scissors
● weave in ends with the crochet ho


 Tips:
Tips:
● After cut the yarn, we can weave in ends with the crochet hook,tie two knots with two strands of cotton yarn,cut the extra tails if needed
● This round will consist of 16 stitches total. You can count the number and check
Round 4:
● Change color to yellow
● chain three as a turning chain
● 3 popcorn stitch(five double crochets in the same stitches)


Tips:
● You may need to incert the hook from the back of the top,pull the yellow yarn through,tie two knots with two strands of cotton yarn to combine the top and the lid handle together
Done Part
 Conclusion
Congratulations—you’ve woven tulip motifs in blush-pink and sunshine-yellow through a khaki base, contrasted them with crisp white and verdant green, and finished with a perfectly fitted lid . This integrated texture approach makes your basket both functional and decorative, with floral patterns that are part of the fabric, not appliqués . Share your finished baskets and color variations with our community, tag #CrochetTulipBasket, and keep experimenting with new stitch textures and palettes. Happy crocheting!
Video tutorial:https://youtu.be/EXmUk4MxlqM?si=8v1VfHETUO1xJ4cL
Free pattern:https://thekynova.com/blogs/crochet-free-patterns/free-pattern-tulip-box
