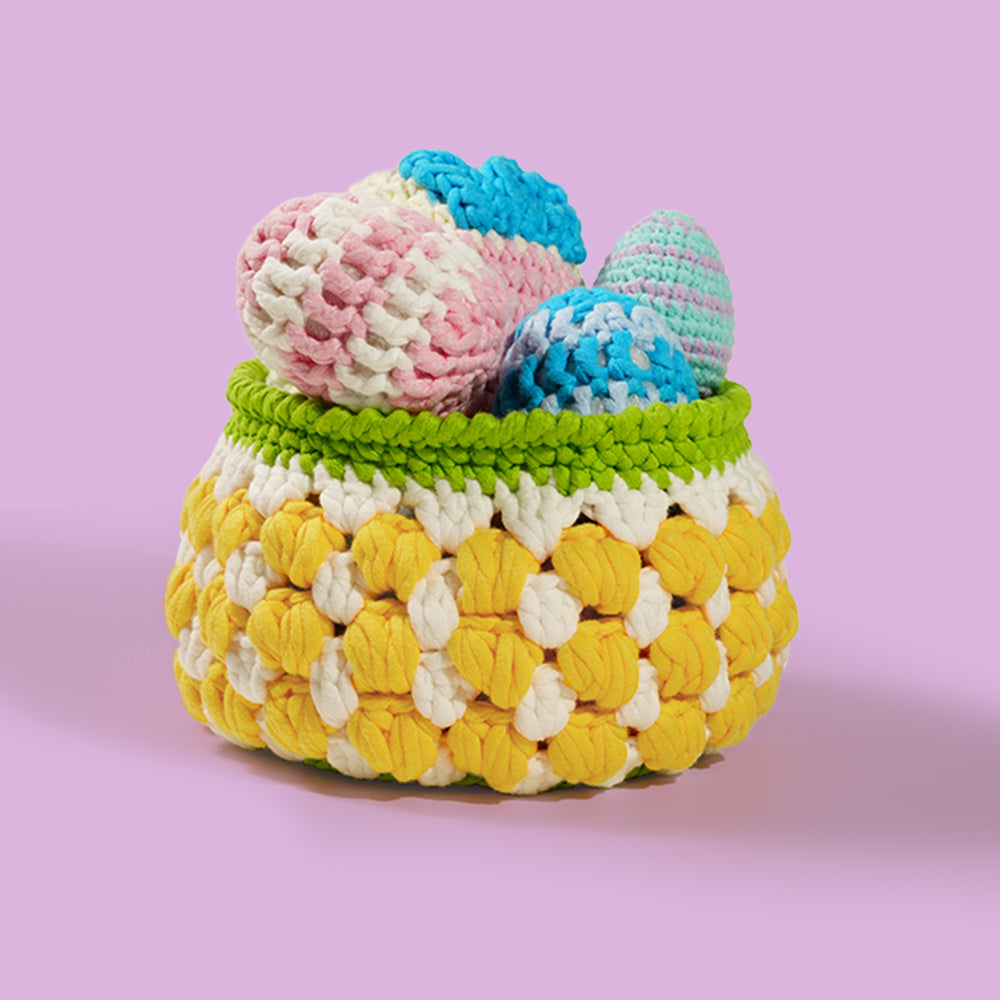
How to Finger Crochet: A Detailed DIY Tutorial for No-Hook Crafting
Hey everyone, welcome to my little crafting corner! Today, I’m sharing an exciting and unconventional technique—finger crochet. That’s right, no hook needed. You’re going to learn how to finger crochet step by step and discover some fun projects that you can make with just your hands.

What Is Finger Crochet?
Finger crochet is a relaxed, no-hook approach where your fingers do all the work. It's perfect if you're curious about DIY crafts, beginners looking for a simple method, or even kids who want to get started without complex tools.
Materials You’ll Need
-
Chunky Yarn: Choose a super bulky yarn (size 6 or 7) because thicker yarn is easier to handle with your fingers.(What is the chunky yarn?)
-
Your Hands: Yep, that’s literally all you need—no hook required!
-
Scissors: To snip off any extra ends.
-
Tapestry Needle (Optional): For weaving in loose threads after you finish your project.

Step-by-Step Finger Crochet Tutorial
-
Starting With a Slip Knot:
Begin by making a slip knot, just like you would in regular crochet. Place the loop on your index finger. This will serve as your starting point. Remember: the tighter the slip knot, the more control you have. -
Establishing Your Base Stitch:
Hold the yarn with your other fingers and pull gently to secure the loop. Use your thumb and index finger to trap the yarn and create tension. To create your first stitch, use your index finger to grab a small piece of yarn from the working strand and pull it through the loop. This is your basic finger crochet stitch—simple and effective. -
Building a Chain Stitch:
Continue by repeating the process for each new stitch. Create a chain by wrapping the yarn over your fingers and pulling it through the previous loop. This builds up a series of interconnected loops known as the chain stitch. It’s similar to traditional crochet, but with a playful, hands-on twist. -
Crafting Patterns and Textures:
Once you’re comfortable with the chain stitch, try adding some variations like the finger crochet double stitch or half-double stitch. Experiment with combining different finger crochet stitches to form simple patterns—think scarves, coasters, or even a chunky bracelet. Search for “finger crochet stitches” or “DIY finger crochet tutorial” online if you need more design inspiration. -
Finishing Your Project:
When your piece reaches the desired length, it’s time to finish off. Cut your yarn, leaving a tail long enough to weave back into your work. Use a tapestry needle, if available, to secure and hide the ends. Proudly admire your creation—a project made entirely by the magic of your fingers!
Extra Tips for Successful Finger Crocheting
-
Practice Makes Perfect: Don’t be discouraged if your first few projects don’t look exactly right. Finger crochet is all about getting comfortable with the natural rhythm of your hands.
-
Experiment with Yarns: Thicker yarn works better for beginners. Once you’re comfortable, try mixing colors or even working with finer yarn for more detailed projects.
-
Join a Community: Look for online groups or local workshops—connecting with fellow crafters can provide inspiration and helpful tips.

Remember, whether you’re a longtime fan of traditional crochet or a newcomer exploring this unique technique, this tutorial offers an approachable way to create beautiful crafts. Enjoy the process, experiment boldly, and have fun crafting with your fingers!
Happy finger crocheting, y’all!
