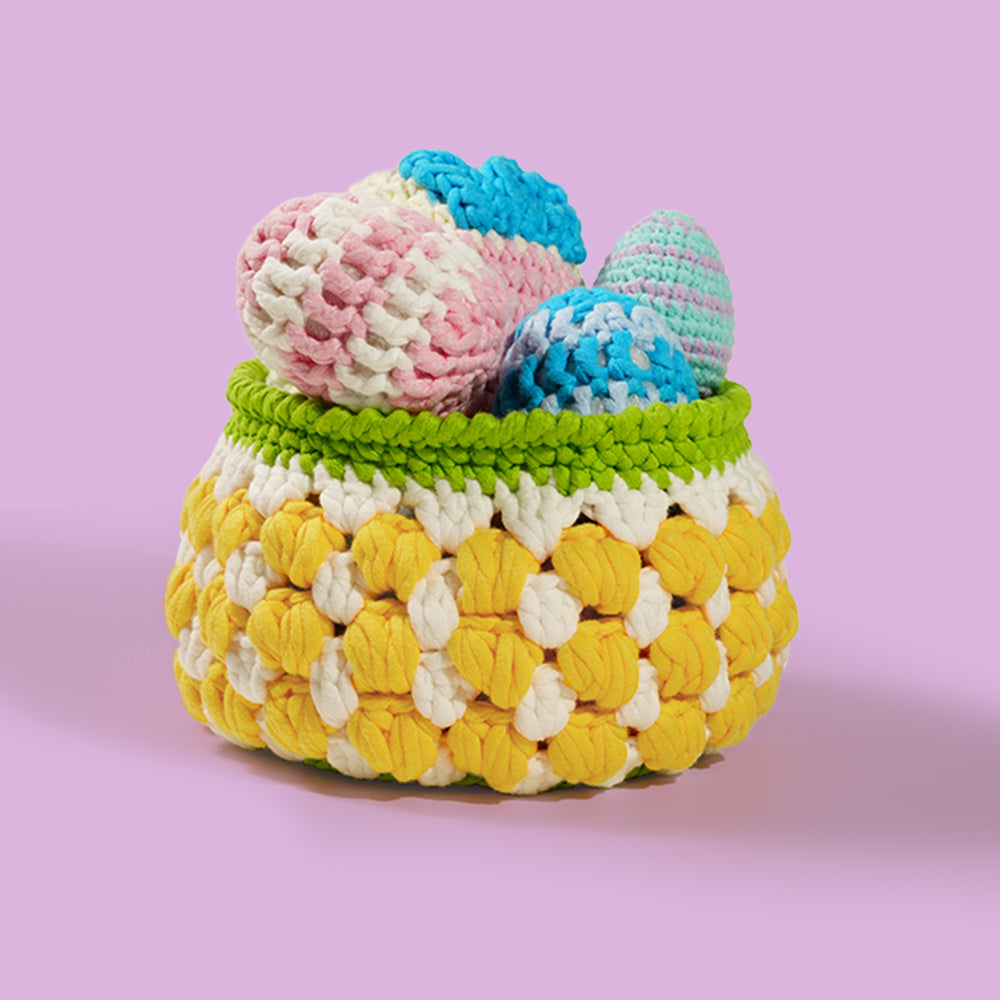
How to Crochet Ornaments with a Charming Lid:DIY Mother’s Day Tulip Flower Box
Hey everyone, I’m Ethan! With Mother’s Day just around the corner, I’m excited to share a unique project that combines creativity and heartfelt sentiment—a DIY tulip flower box that doubles as a delightful crochet ornament. This isn’t your everyday craft project; it’s a special piece featuring a crocheted small lid that adds a touch of elegance to the design. Let’s dive into the step-by-step guide to create this memorable gift.

Why This Project is a Must-Try
Creating your own handmade décor is a wonderful way to add a personal touch to your celebrations. By crocheting this tulip flower box, you’re not just making an ornament—you’re crafting a keepsake for Mother’s Day. The unique feature? A tiny crocheted lid that serves as a cute cap, giving the box an extra pop of charm without any stuffing inside.

Materials and Tools
-
Lightweight Yarn: Select soft, vibrant yarn in spring or pastel hues to evoke a fresh, floral vibe.
-
Crochet Hook: Use the hook size recommended on your yarn label (typically US 6-8 works well).
-
Stitch Markers & Scissors: Keep your work organized and precise.
-
Yarn Needle: For neat finishing and weaving in ends.
-
Design Inspiration: Check out Pinterest or your favorite DIY blogs for creative embellishment ideas.
Step-by-Step Guide-With Free pattern here>>>Tulip box pattern
-
Creating the Foundation:
Begin with a circular foundation chain to form the base of your tulip flower box. Work in rounds using a basic stitch like single crochet. Aim for a smooth, even foundation that will set the tone for the rest of your piece. -
Building the Tulip Shape:
Gradually increase your stitches in each round to create the flared shape of a tulip. Focus on forming soft, curved lines that mimic the natural petal flow. Remember, this shape will define the overall look of your ornament. -
Forming the Flower Box Walls:
Continue working in rounds to build up the sides of the box. Since you’re not using any stuffing, make sure the walls are sturdy enough to hold their shape on their own. The key is to maintain even tension throughout. -
Adding the Crocheted Lid:
Now for the star feature—a small, intricately crocheted lid. Create the lid separately using a similar circular foundation, then work in rounds to form a slightly domed cover. Once completed, attach the lid securely to the top edge of your flower box. This lid not only adds a decorative touch but also gives the box a polished, finished look. -
Finishing Touches:
Weave in all loose ends carefully using a yarn needle. Consider adding a decorative border or a small charm for extra flair. Your handmade piece is now ready to be gifted or used as a festive home décor accent.
If you are just a beginner,don‘t worry about that.The Kynova tulip box crochet kit has prepare everything you need.Click the picture to see more details
This Mother’s Day tulip flower box is a delightful project that combines classic crochet techniques with creative twists. Whether you’re an experienced crocheter or just starting out, this guide will help you craft a unique ornament that celebrates love and creativity.
Happy hooking, and have a wonderful Mother’s Day!

