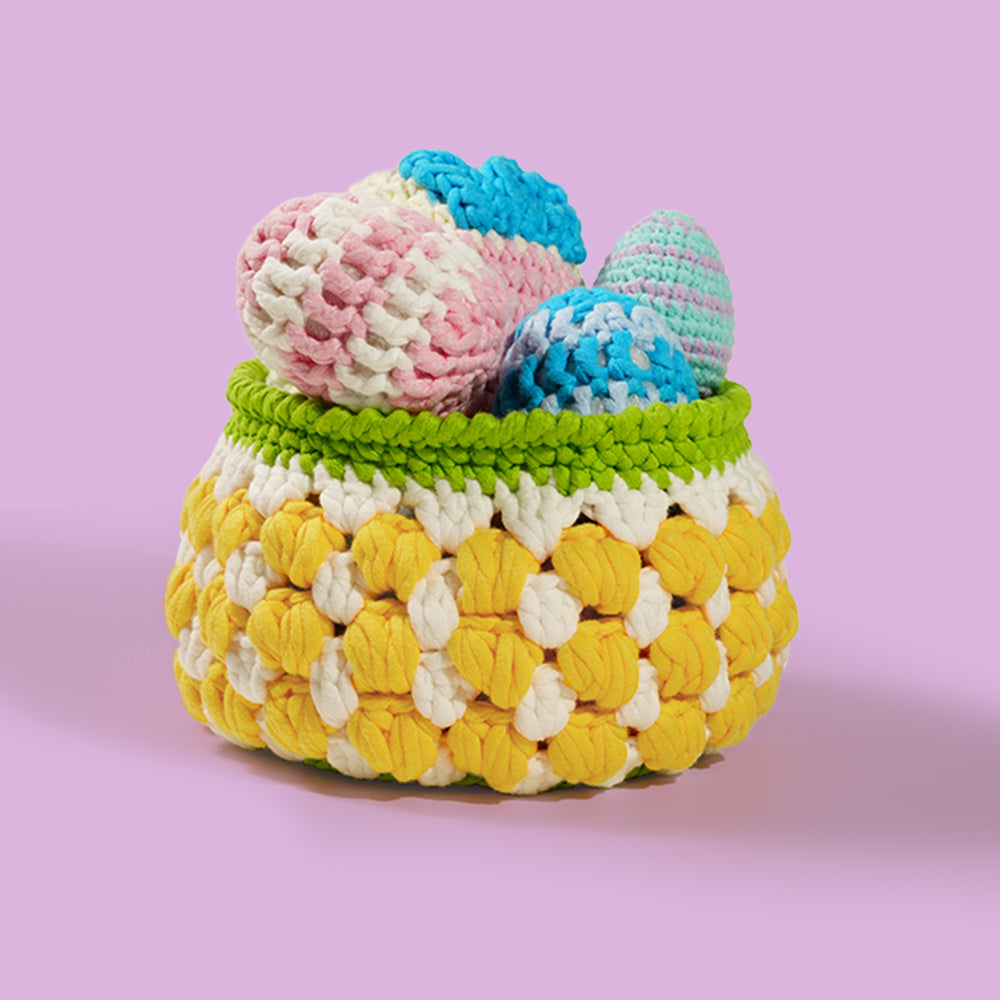
Wrapping Up Your Work – How to End a Crochet Project Like a Pro
Finishing a crochet project might seem like the easiest part, but it’s often where many of us hit a snag. Hey y’all, I’m here to share my take on how to end a crochet project with style and confidence. Whether you’re a beginner or a seasoned crocheter, a well-finished piece not only looks polished but also stands the test of time.

Why a Good Finish Matters
There’s nothing worse than spending hours on a piece, only to have it unravel because of a sloppy ending. A secure finish:
-
Prevents unraveling: Properly tucked-in ends mean your work stays intact.
-
Enhances appearance: A neat finish elevates the look of your creation.
-
Increases durability: A well-ended project will last longer, especially if it’s a gift or decor item.
Step-by-Step Guide to Finishing Your Crochet Work
1. Secure the Final Stitch
When you’re down to the last stitch, take your time. Don’t just cut the yarn abruptly. Instead:
-
Use a yarn needle to weave the yarn through several stitches.
-
Make a few small knots to secure it before trimming off the excess.
2. Weave in Your Ends
This step is crucial for a clean finish. Here’s how:
-
Thread the yarn tail onto a tapestry needle.
-
Weave it back and forth along the seam or the edge of your work.
-
Make sure to hide the tail inside the fabric where it won’t be seen.
3. Block Your Work (Optional but Recommended)
Blocking can help even out your stitches and give your project a professional look.
-
Wet block your work by lightly spraying with water or using a damp cloth.
-
Pin it to your desired shape and let it dry completely.
-
This step is especially useful for items like blankets or shawls.
4. Add Any Final Decorative Touches
If your piece allows, consider adding embellishments:
-
Embroider a small design or monogram.
-
Sew on buttons, beads, or appliqués to add personality.
-
These little details can turn a simple project into something truly special.
IF you are confused at step 1,here is the reference blog post:How to Hide Yarn Ends & Fix a Yarn Break Without the Fuss – Kynova
Tools and Tips for a Seamless Finish
-
Tapestry Needles: They’re your best friend when it comes to weaving in ends.
-
Sharp Scissors: Clean cuts help prevent fraying.
-
Patience: Rushing through the finish can lead to a sloppy end.
-
Practice: Each project is a chance to refine your technique. Don’t be discouraged by early mistakes.
Real Talk: My Personal Experience
I remember my first attempt to finish a crochet project. I was so excited to show it off, but I ended up with loose ends that threatened to unravel everything. Over time, I learned that a few extra minutes at the end can save hours of frustration later. Now, I always take a break, inspect my work, and ensure every yarn tail is securely tucked away. It’s these small details that make your work look professional and feel satisfying.

Q&A Corner: Common Finishing Questions
Q: How can I make sure my yarn won’t unravel?
A: Weave the yarn tail through at least 5-6 stitches and tie a secure knot before trimming. This creates a strong hold.
Q: Is blocking necessary for every project?
A: Not always, but for larger items or projects where shape matters, blocking can be a game changer.
Q: What if I make a mistake during the final row?
A: Don’t panic! Unravel a few stitches, fix the mistake, and then resecure the end. It’s all part of the learning process.
Bringing It All Together
Ending a crochet project might seem like a small step, but it’s the final flourish that can make or break your work. Remember, a well-finished piece is a testament to your care and dedication. Take your time, use the right tools, and don’t be afraid to experiment with decorative touches. With a bit of patience and practice, you’ll always have a piece you’re proud to call your own.
Happy crocheting, and here’s to many more beautifully finished creations!
